HMI Fundamentals - PanelView Plus Terminal IP Settings for EtherNet Connectivity to PLC
Introduction
In order to send data to and from a PanelView Plus HMI Terminal, it’s necessary to configure the IP settings of the said device. This procedure needs to take place every single time a new terminal is installed or is migrated to a new subnet. the procedure isn’t complicated but is tricky for a new Controls Engineer. Furthermore, it may be accomplished in several distinct ways which aren’t as obvious as we’d all like them to be.
Today, we will be looking at how to set the IP address on a PanelView Plus 1000 Terminal. This procedure is the same for most HMIs from the PanelView family and should be repeatable as is. We will be exploring two ways through which we can set the IP: the Config button as well as through the boot menu.
Accessing the Configuration Menu through the “Go To Config” Button
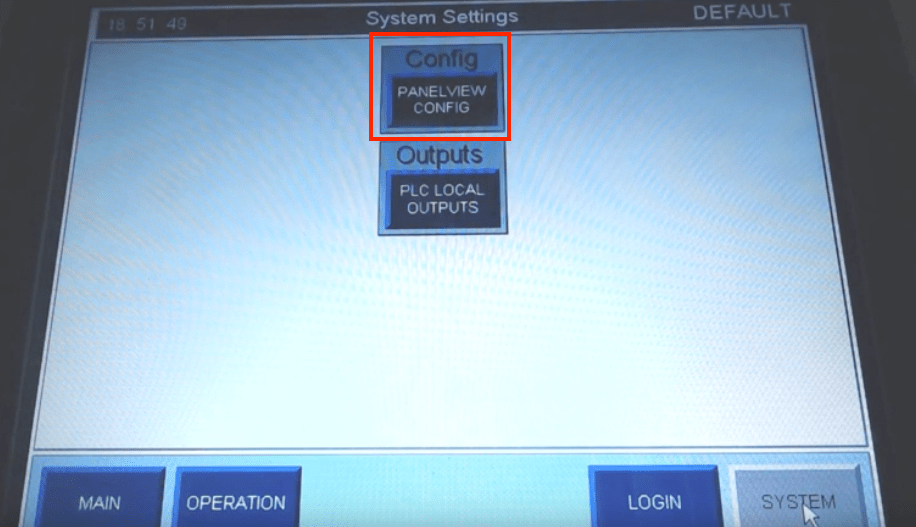
The easiest way to access the configuration menu is by using the “Go To Config” button. This button is commonly found within the “Settings” or “Maintenance Functions” of an HMI application. However, it’s not always programmed by systems integrators and may not be there at all.
To find this button, it’s recommended to ask the maintenance department or the engineering department for the access key. They would typically know where this is located or guide you through the navigation process.
Once the button is found, you may press it in order to close the current application and be brought into the “Settings” page of the Human Machine Interface (HMI). At this stage, skip to the end of the tutorial to see where the IP address of the HMI is being set.

Accessing the Configuration Menu through the “Boot Menu”
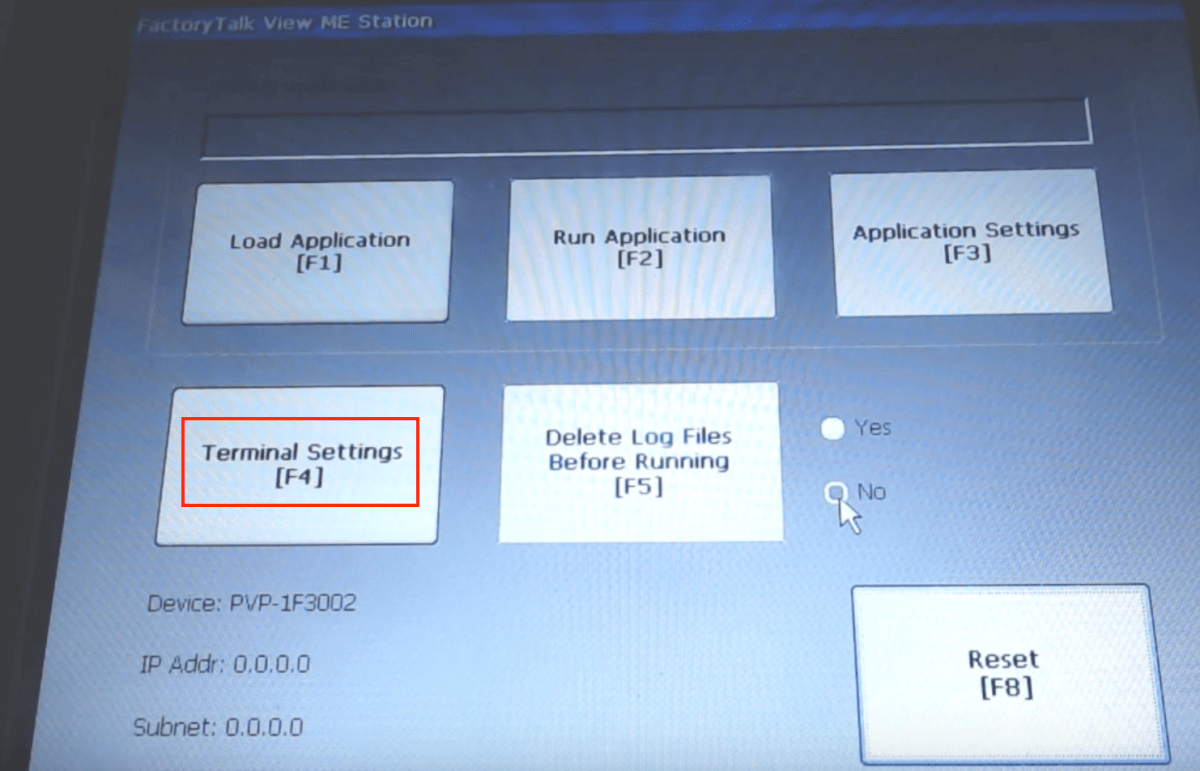
If you can’t find the “Go To Config” button within the HMI application, the simplest solution is to access the settings menu through the boot process. As the PanelView Plus Terminal is going through the boot process, a white square will appear in the bottom left corner. This square may be pressed in order to skip the application launch. The process is quite obvious once you’ve gone through it a few times, but in case you miss your opportunity to click the square, simply power down the terminal and try again.
Once you successfully press the little square, the terminal will go straight into the settings menu from which you can navigate into the network settings for the IP address.
Changing the IP settings of the PanelView Plas HMI Terminal
From the settings menu which we’ve accessed in the previous sections, we can access the Network Settings of the terminal.
Follow the procedure outlined below in order to access the EtherNet/IP settings:
- Go to “Terminal Settings”
- Scroll down to “Networks and Communications”
- Press “Enter”
- Scroll Down to “Network Connections”
- Press “Enter”
- Scroll Down to “Network Adaptors”
- Press “Enter”
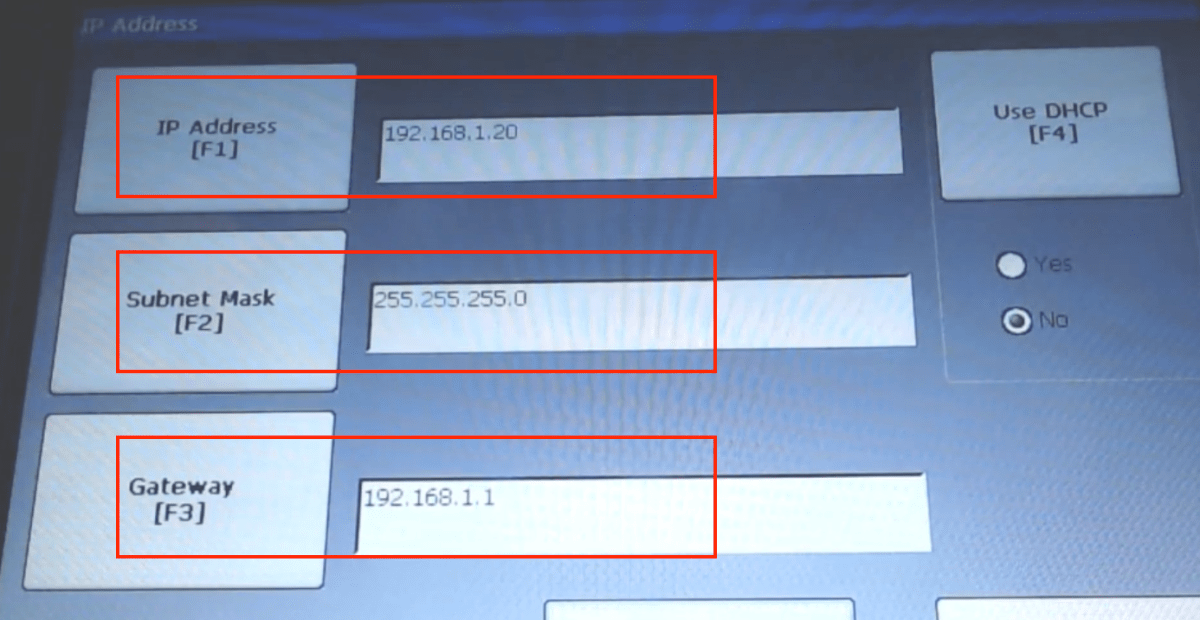
- Press “IP Address”


From this screen, you may select an IP address as well as a subnet mask for your terminal. Making changes to these settings requires you to reset the terminal. Navigate back to the main menu by pressing “Back” and select “Reboot Terminal” in order for the changes to take effect.
Conclusion
By using these two methods one can easily change the IP address of a PanelView Plus Terminal. This process needs to take place every single time an HMI is introduced into a new network.


